After almost a year of owning the expansion, I finally got around to playing a game using a new army from Crescent and Cross this past Saturday.
1x4 Mounted Hearthguard
1x4 Mounted Hearthguard
1x4 Blackguard (Hearthguard)
1x8 Spear warriors
1x12 Bow Levy
The Byzantines have three warrior units, one armed with bows along with a unit of mounted hearthguard and steppe nomad mercenaries. The warlord is accompanied by a priest.
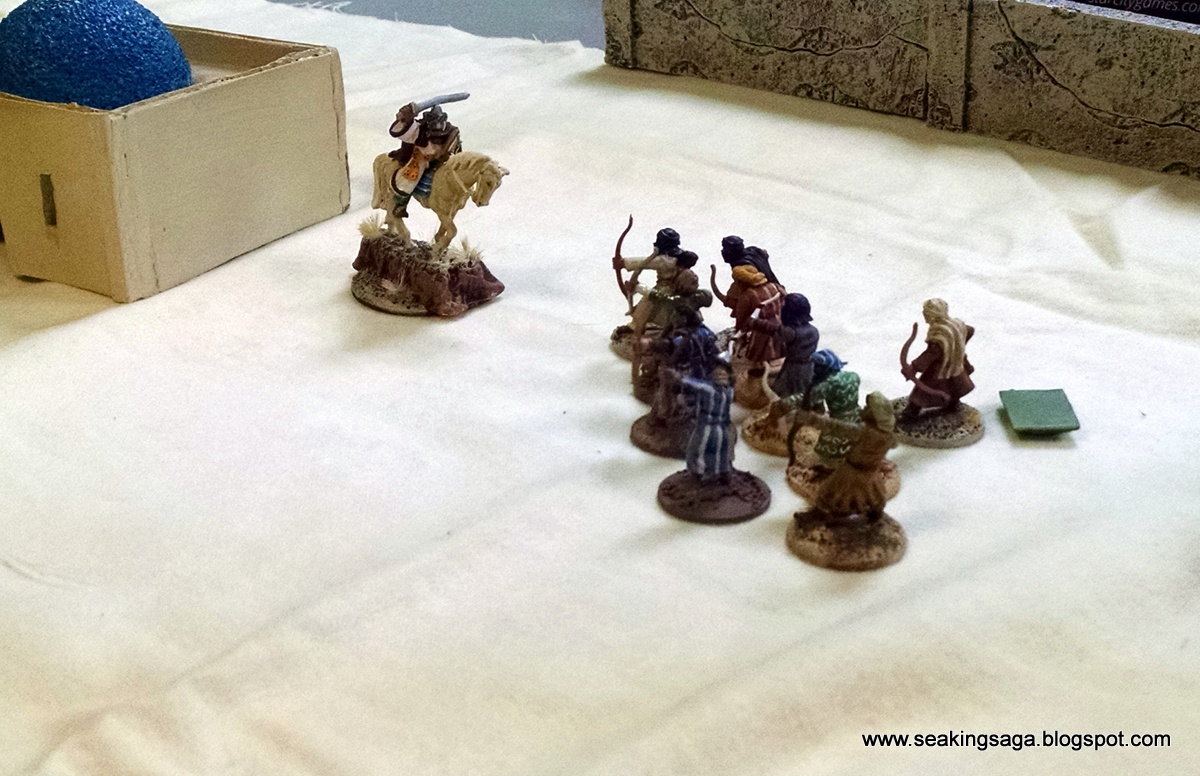
Below, setup at the start of the game. The Moors are on the left, the Byzantines on the right. I spread out, and my opponent tightly groups his units. I should have saw that as an indicator of what was to come.

Another view, with the Byzantines behind the small hill.

On my turn, I advance my mounted hearthguard, possibly to use the building as a screen.

 As his steppe mercenaries advance from around the oasis, one my hearthguards wheels toward them. Hopefully they could throw javelin, engage the nomads and allow the Blackguard and supporting warriors to close in. Of course, they are halfway across the board before that can happen, but not before we take two from each unit. Bad news when that's half your unit.
  More bad news for the Moors. I tried to bribe the steppe nomads away from the Byzantines for a turn ("Corruption"). Unfortunately, my opponent took the three fatigue on the Warlord option. Weighing the possibilities, My warlord and hearthguard was within striking distance of his warlord in a couple of moves. Hit 'em while he was down, I thought. These warriors intercepted me - but maybe hearthguard against warrior? Not too risky...However, since his formations were so tight, he drew half the attack dice from a nearby unit (Strategikon). A good roll and four Moors down, taking only two spearmen with them.
Know your opponent's battleboard, folks.
The Moors fortunes improve. The blackguard hit the steppe mercenaries, taking out all but one with no cost to themselves. Some great melee abilities are on the Moorish battleboard. A unit of Moorish spearmen do about as well against some Byzantine infantry.

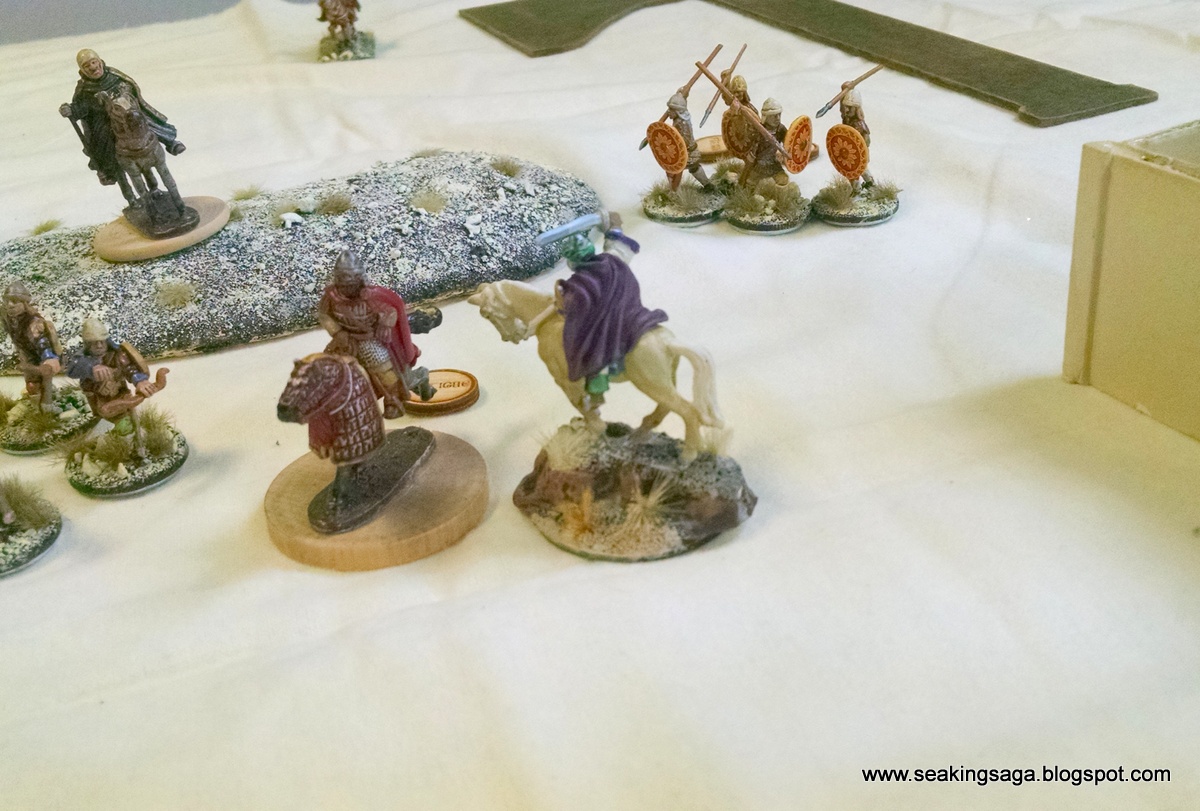
As so often happens in SAGA, it comes down to a battle of warlords. In this case, two battles. The Byzantine warlord moved within distance of the Moorish general, triggering this first encounter. I
only received one hit (ignored) and I put four on the Greek. He saved on three (or was it four?) and took no damage. As the attacker, I was pushed back, and he followed up with a side by side attack with spearmen. I think I took something like six or seven hits and only saved three. The nearby unit of levies couldn't take any of the hits ending the game.
For my first run through on the Moors, I am overall pleased. I like the faction and will play them again. Most of my problems were in my unit composition and not paying attention to the Byzantine abilities. The Moorish hearthguard have javelins, and the lower armor penalty that comes with it. I don't like shooting hearthguard, especially if it is with javelins, a rather poor trade-off in my opinion. In light of bow armed cavalry, the javelins are a weaker weapon with the same disadvantage. Next time, I will go with a full eight Blackguard; they did the job when required.
All in all a fun game, and a great start to Crescent and Cross.
Later this week, I will have my review of BBC America's The Last Kingdom
Nice write up.
ReplyDeleteCheers
Kevin
Cool looking game Alan!
ReplyDeleteNice looking game sir!
ReplyDelete